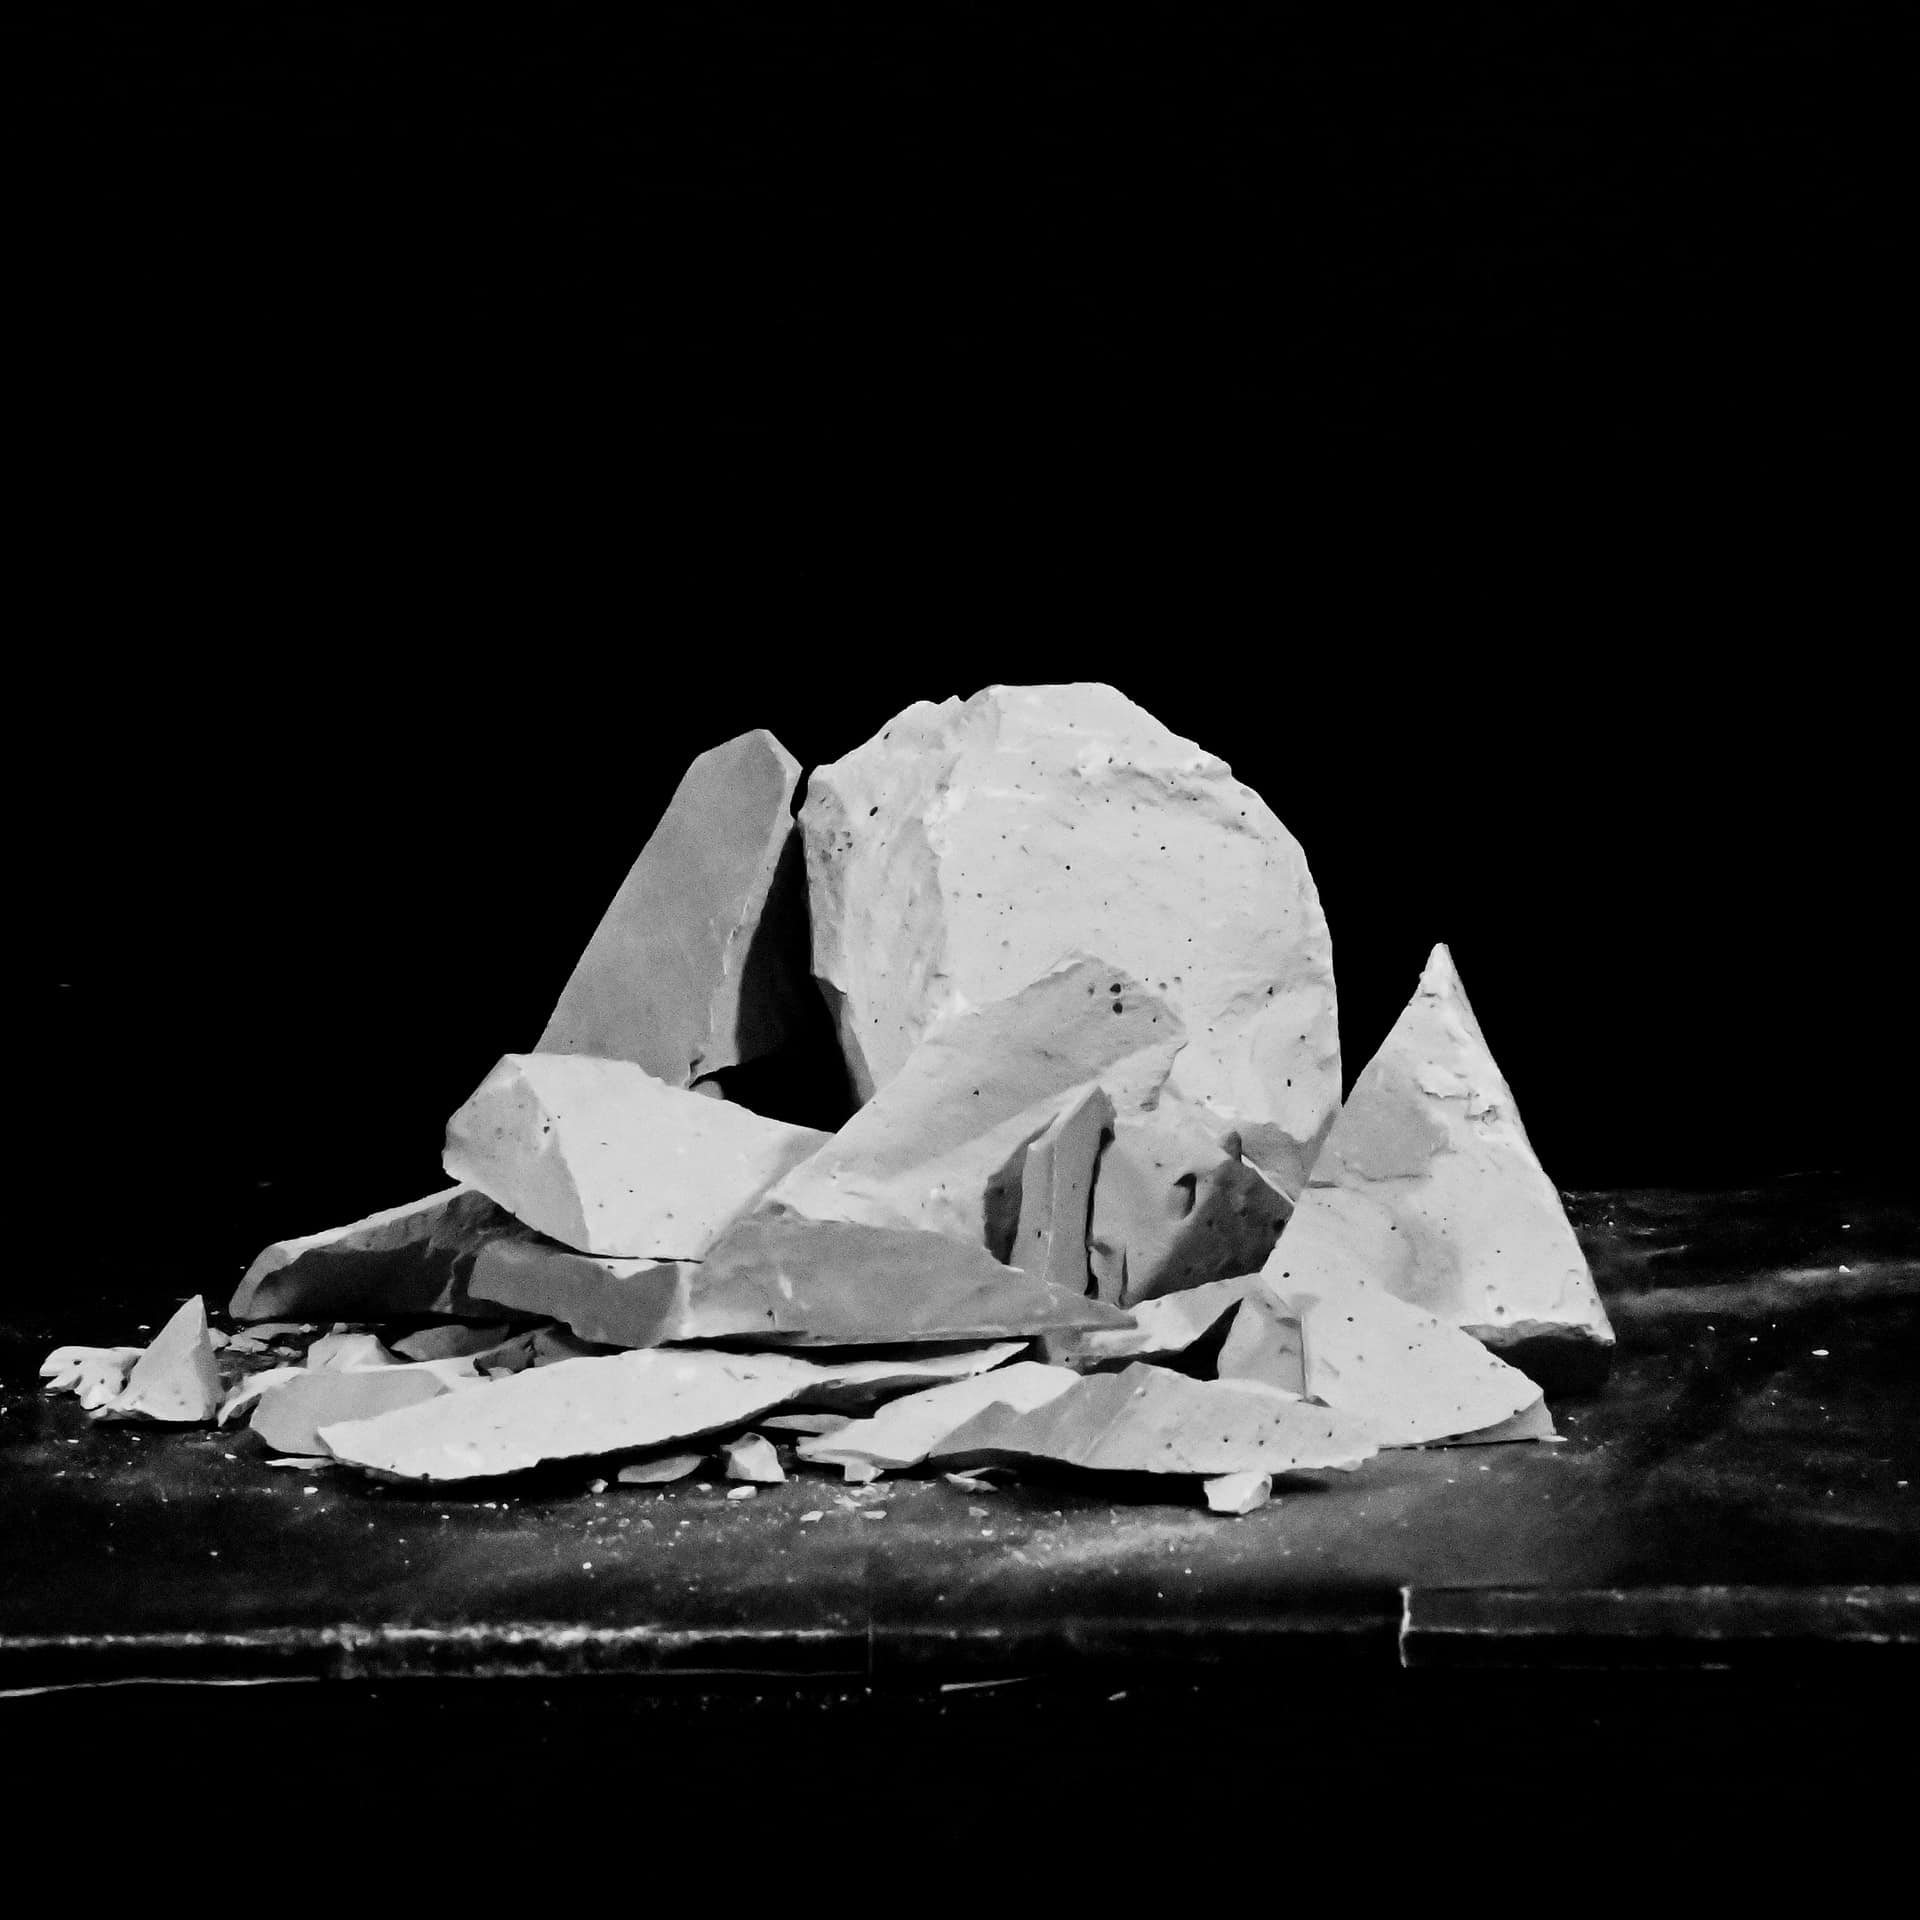
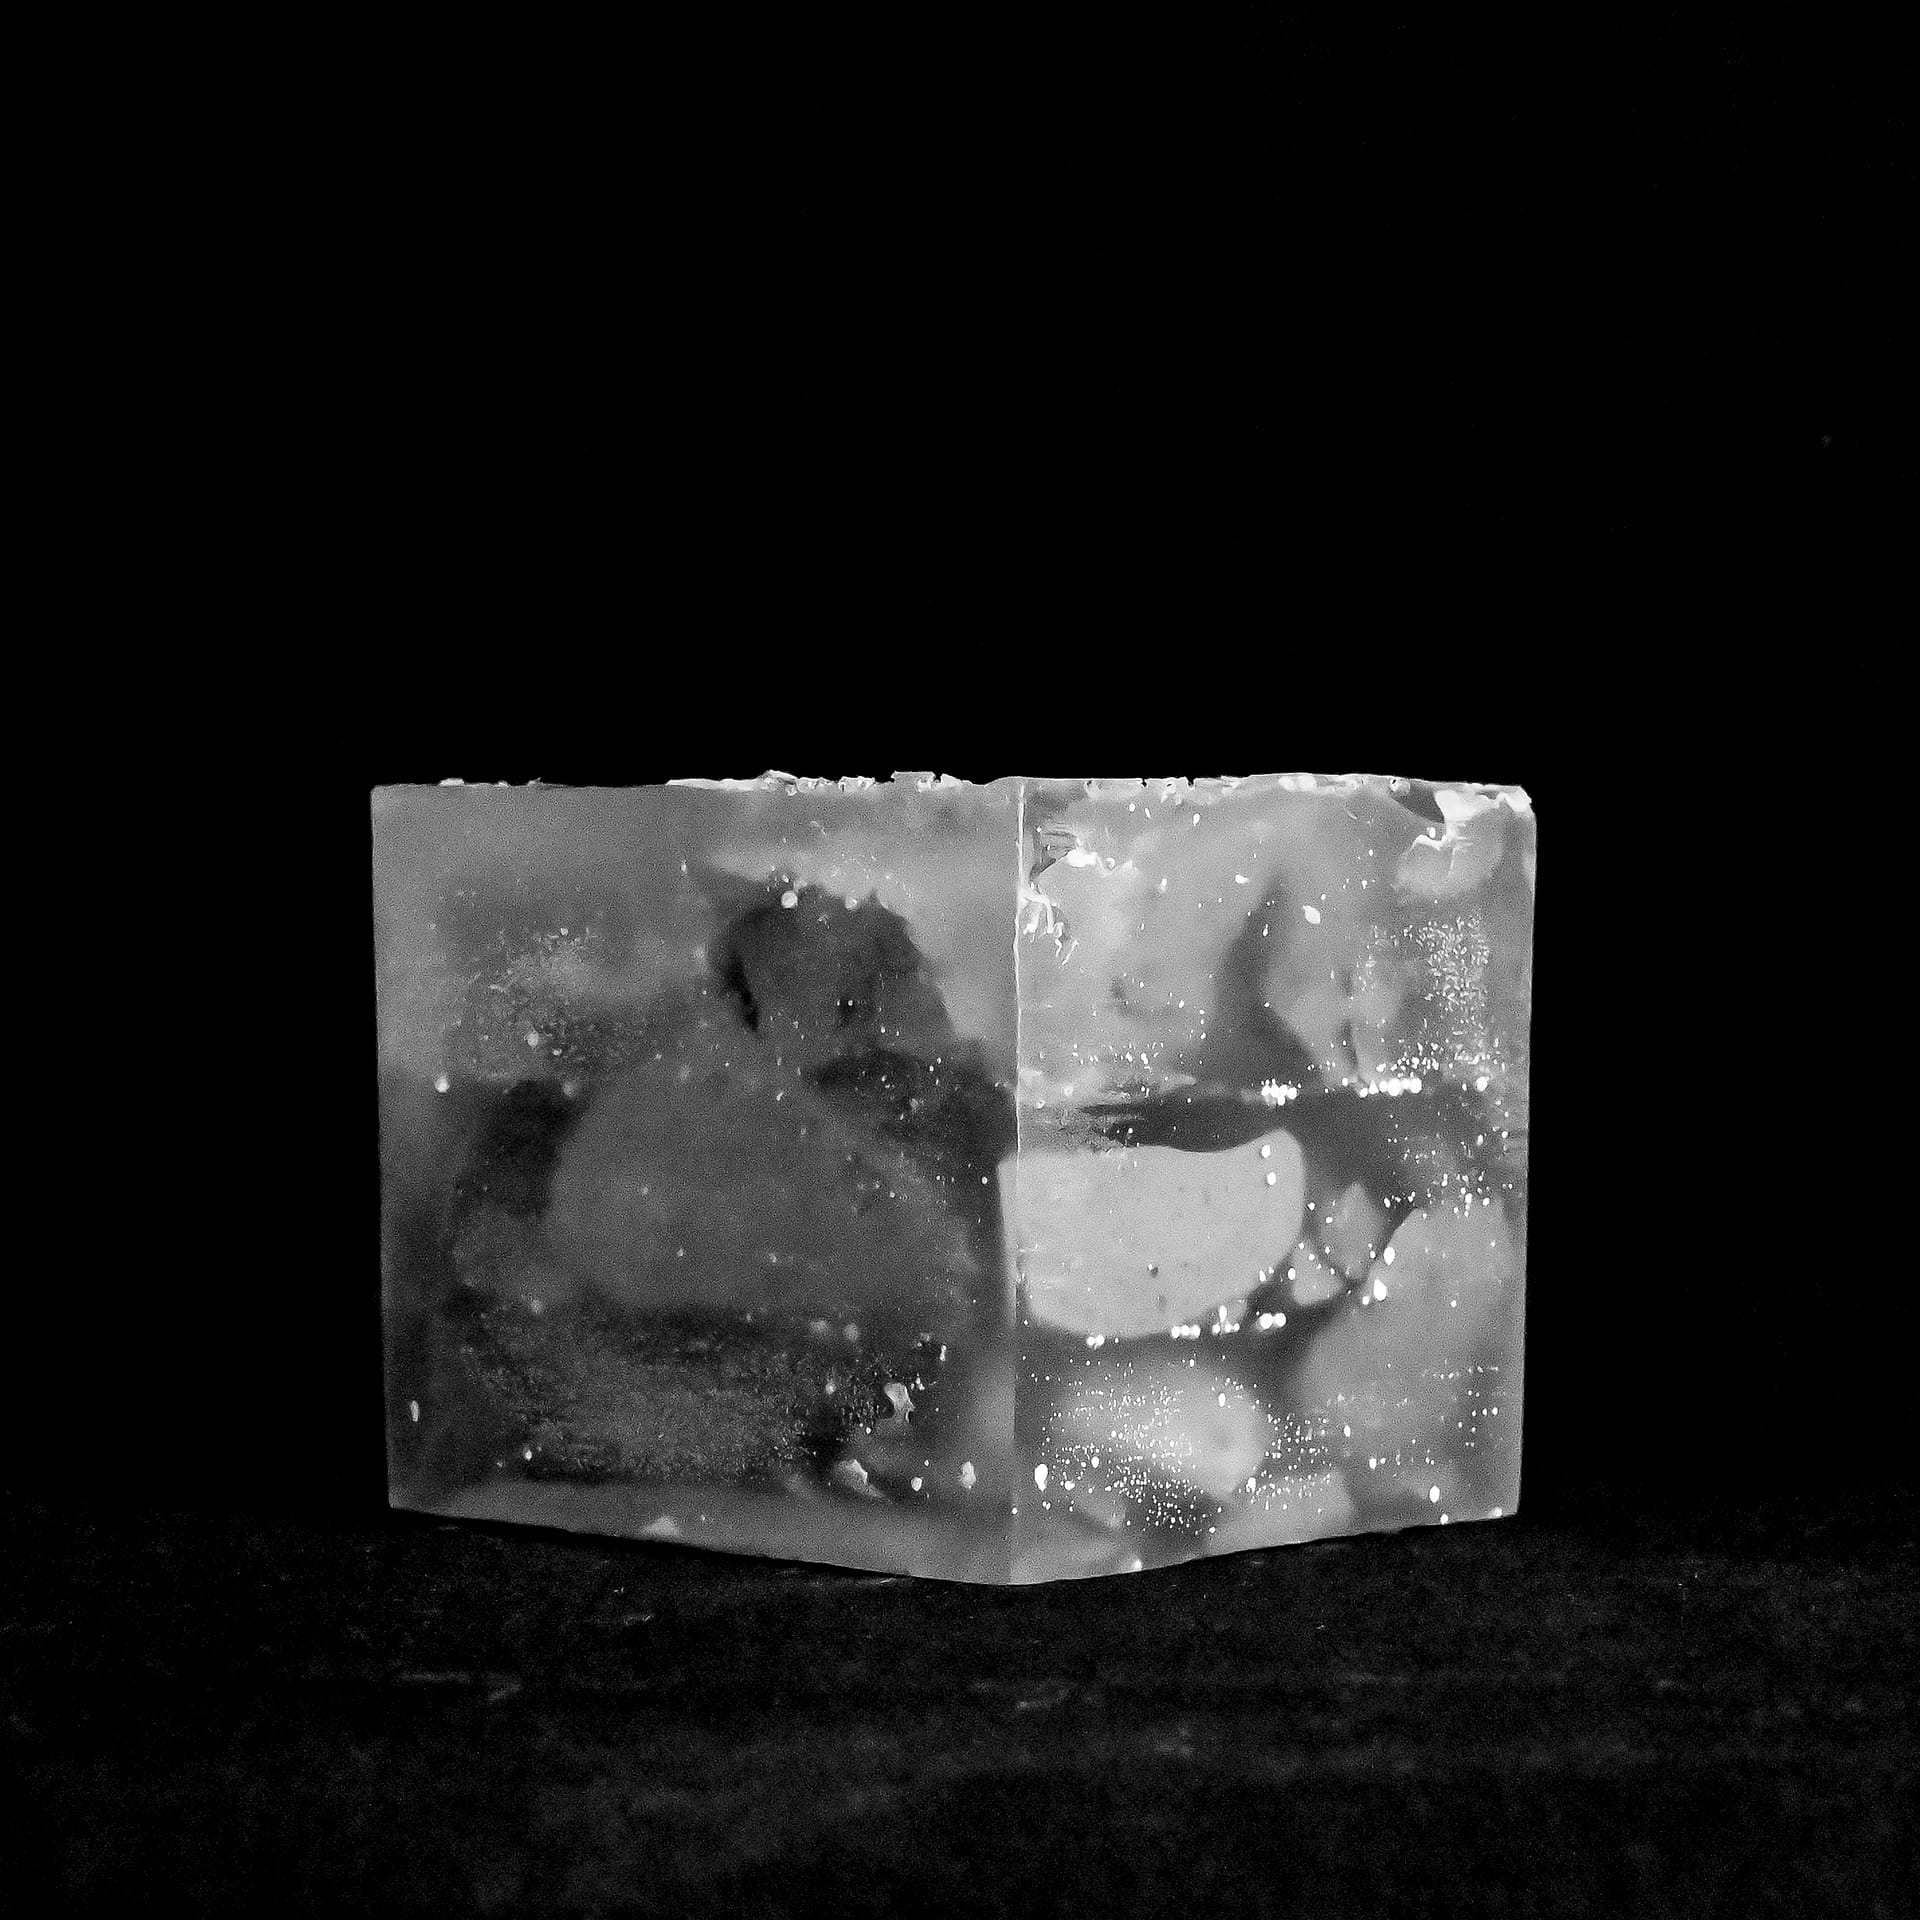
This exploration in rebuilding marked a departure from my research-oriented work. It started on September 18th and revolved around the concept of altering something that was destroyed.
At the beginning of the semester, I focused on collaging destroyed buildings, classifying them into four categories: war-induced, demolition, natural forces and long-term weathering. Inspired by Liliane Wong’s “The Mathematics of Reuse” from her book Adaptive Reuse, I looked into the three approaches to modifying buildings: addition, subtraction, and summation.
- addition: includes single elements, either vertically or horizontally that extend the spatial dimensions of their hosts. They are distinct volumes that expand the confines of the old.
- subtraction: includes the removal of a part of the structure. It can be deliberate or intentional.
- summation: includes the addition of a series of related elements that are not discrete volumes – stairs, walkways, ramps, etc., but added together form a unified intervention.
Over the following two weeks, I sketched examples of reuse projects that focused on the addition of something new to something old. To emphasize the contrast between the old and the new, I used black with a sketch-like quality for the old and red straight, clean lines for the new.
Making Something
The concept was suggested to me by my thesis chair. He felt that I needed to shift from research and reading to making. He suggested that I make three cubes and destroy them, so I did that. That goal was to make three similar cubes, destroy them and rebuild them using a different approach for each one.
The Cubes
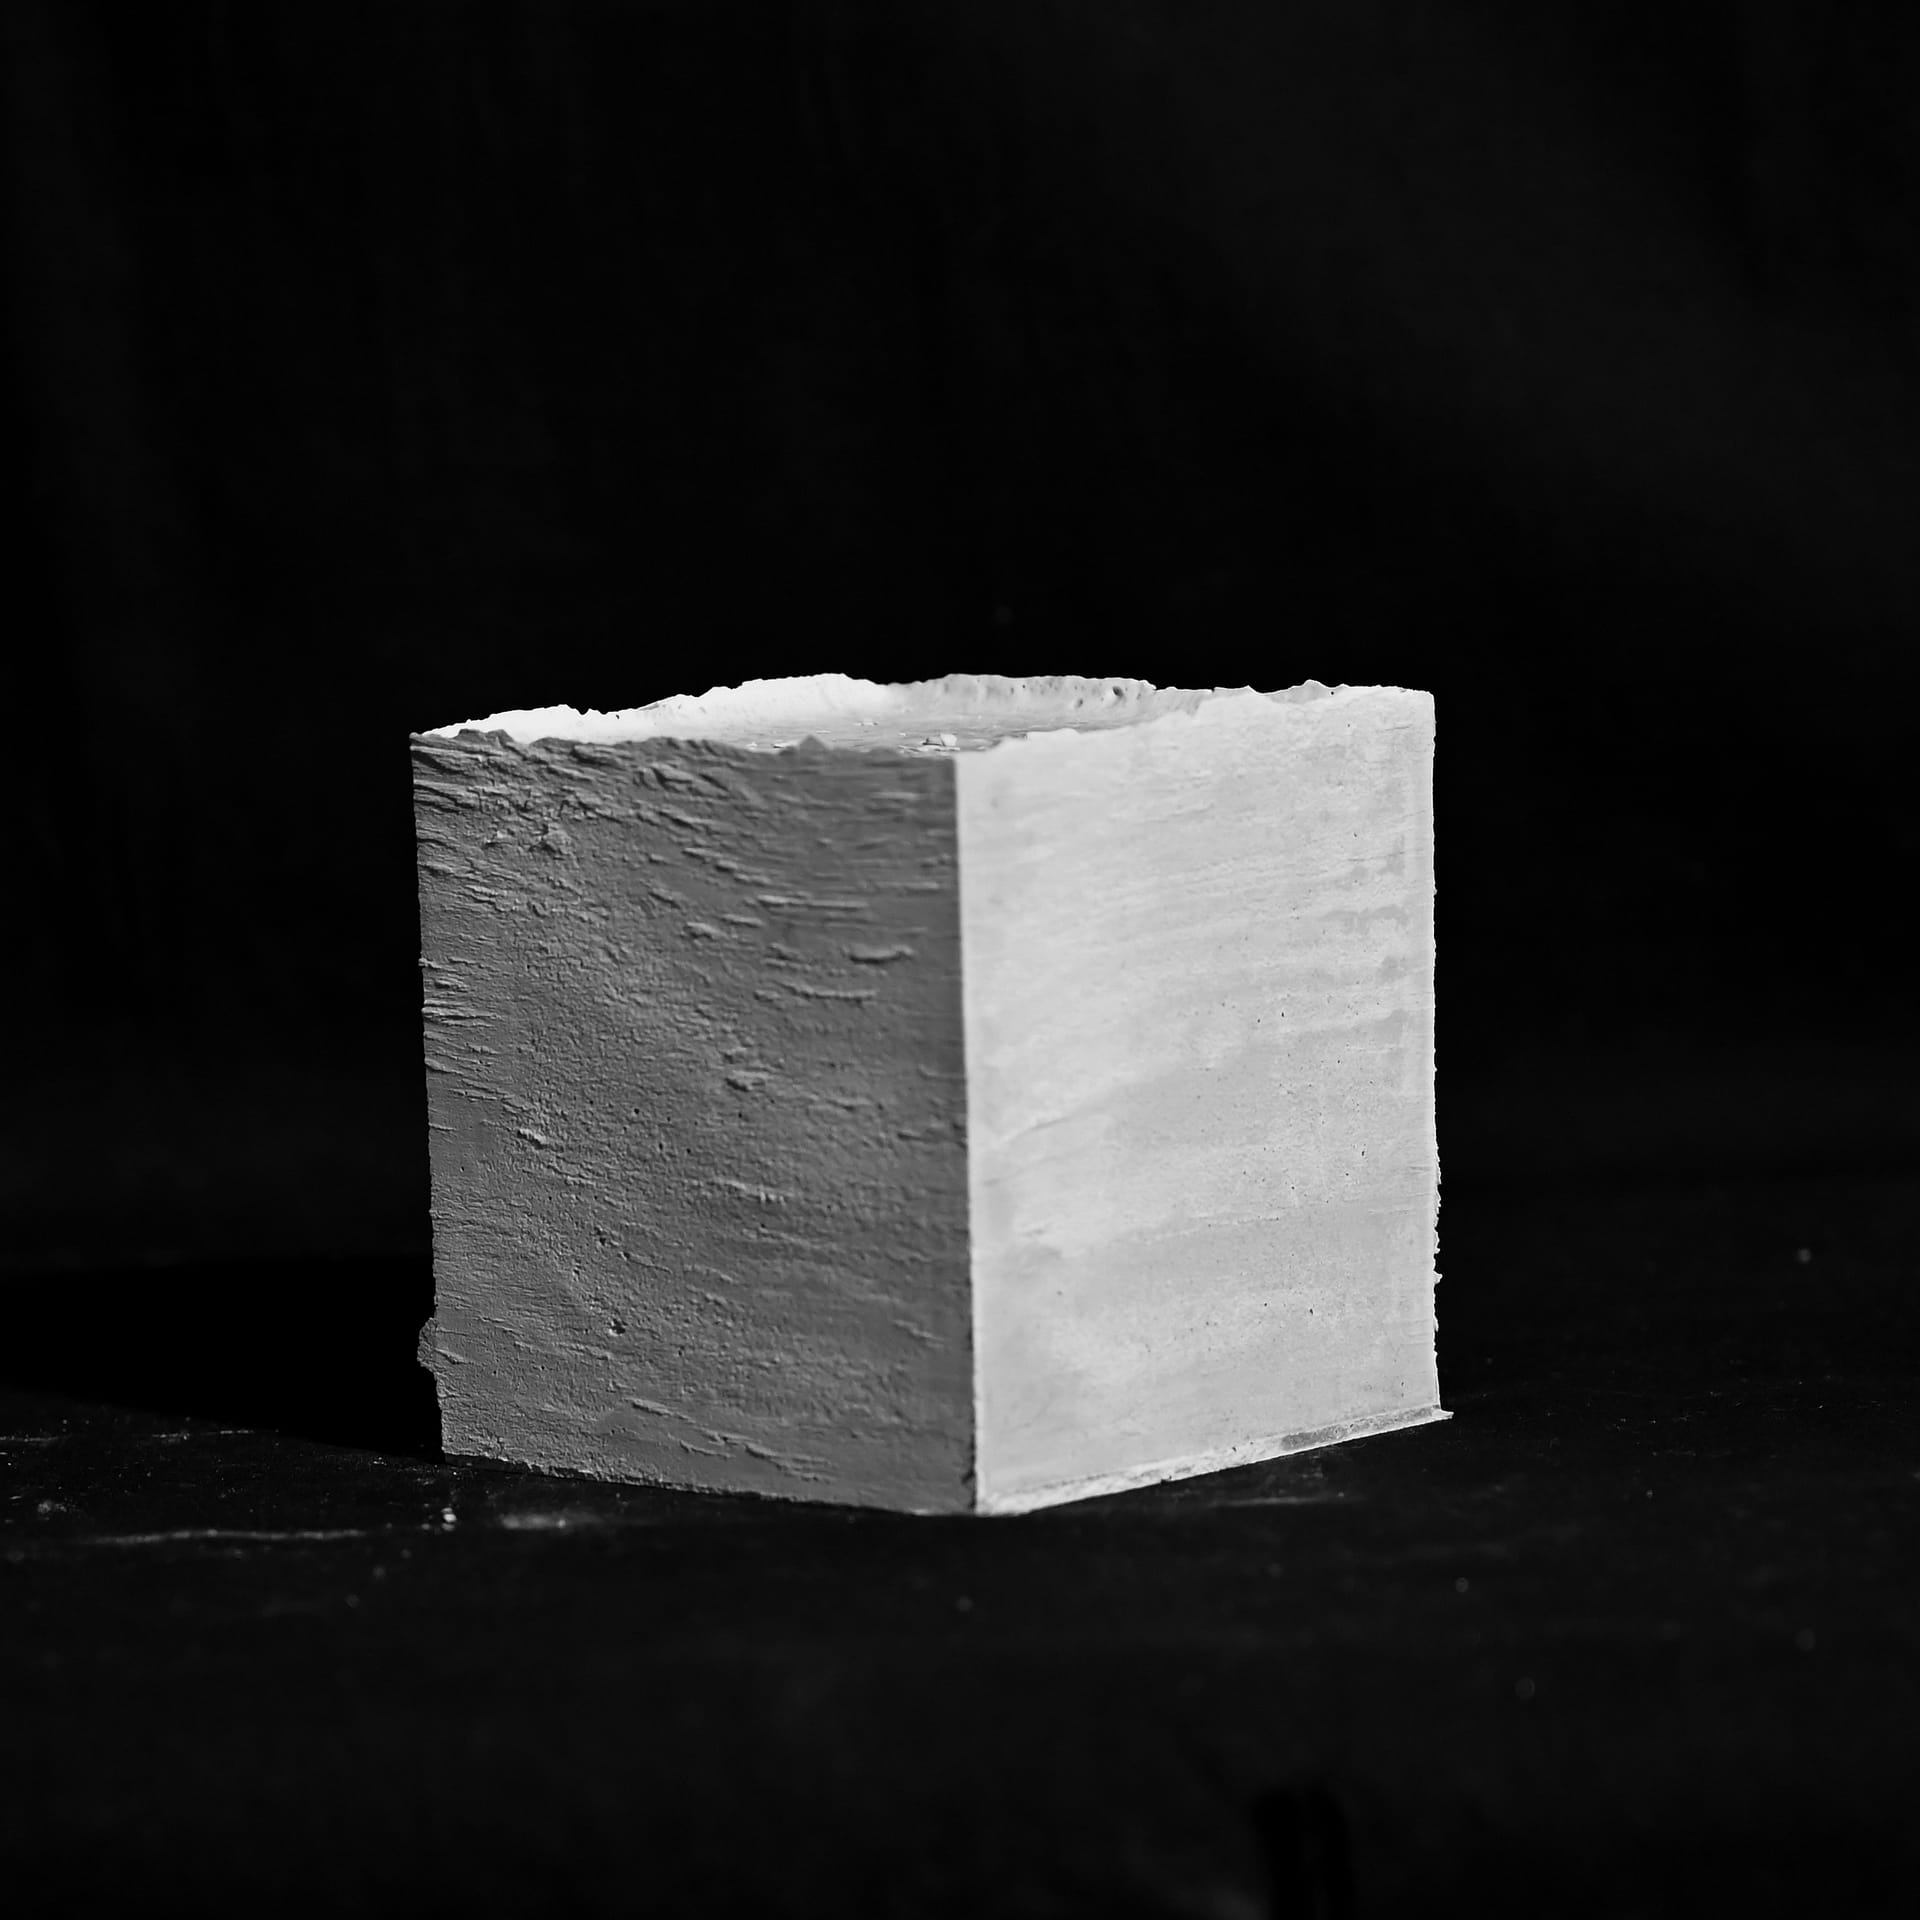
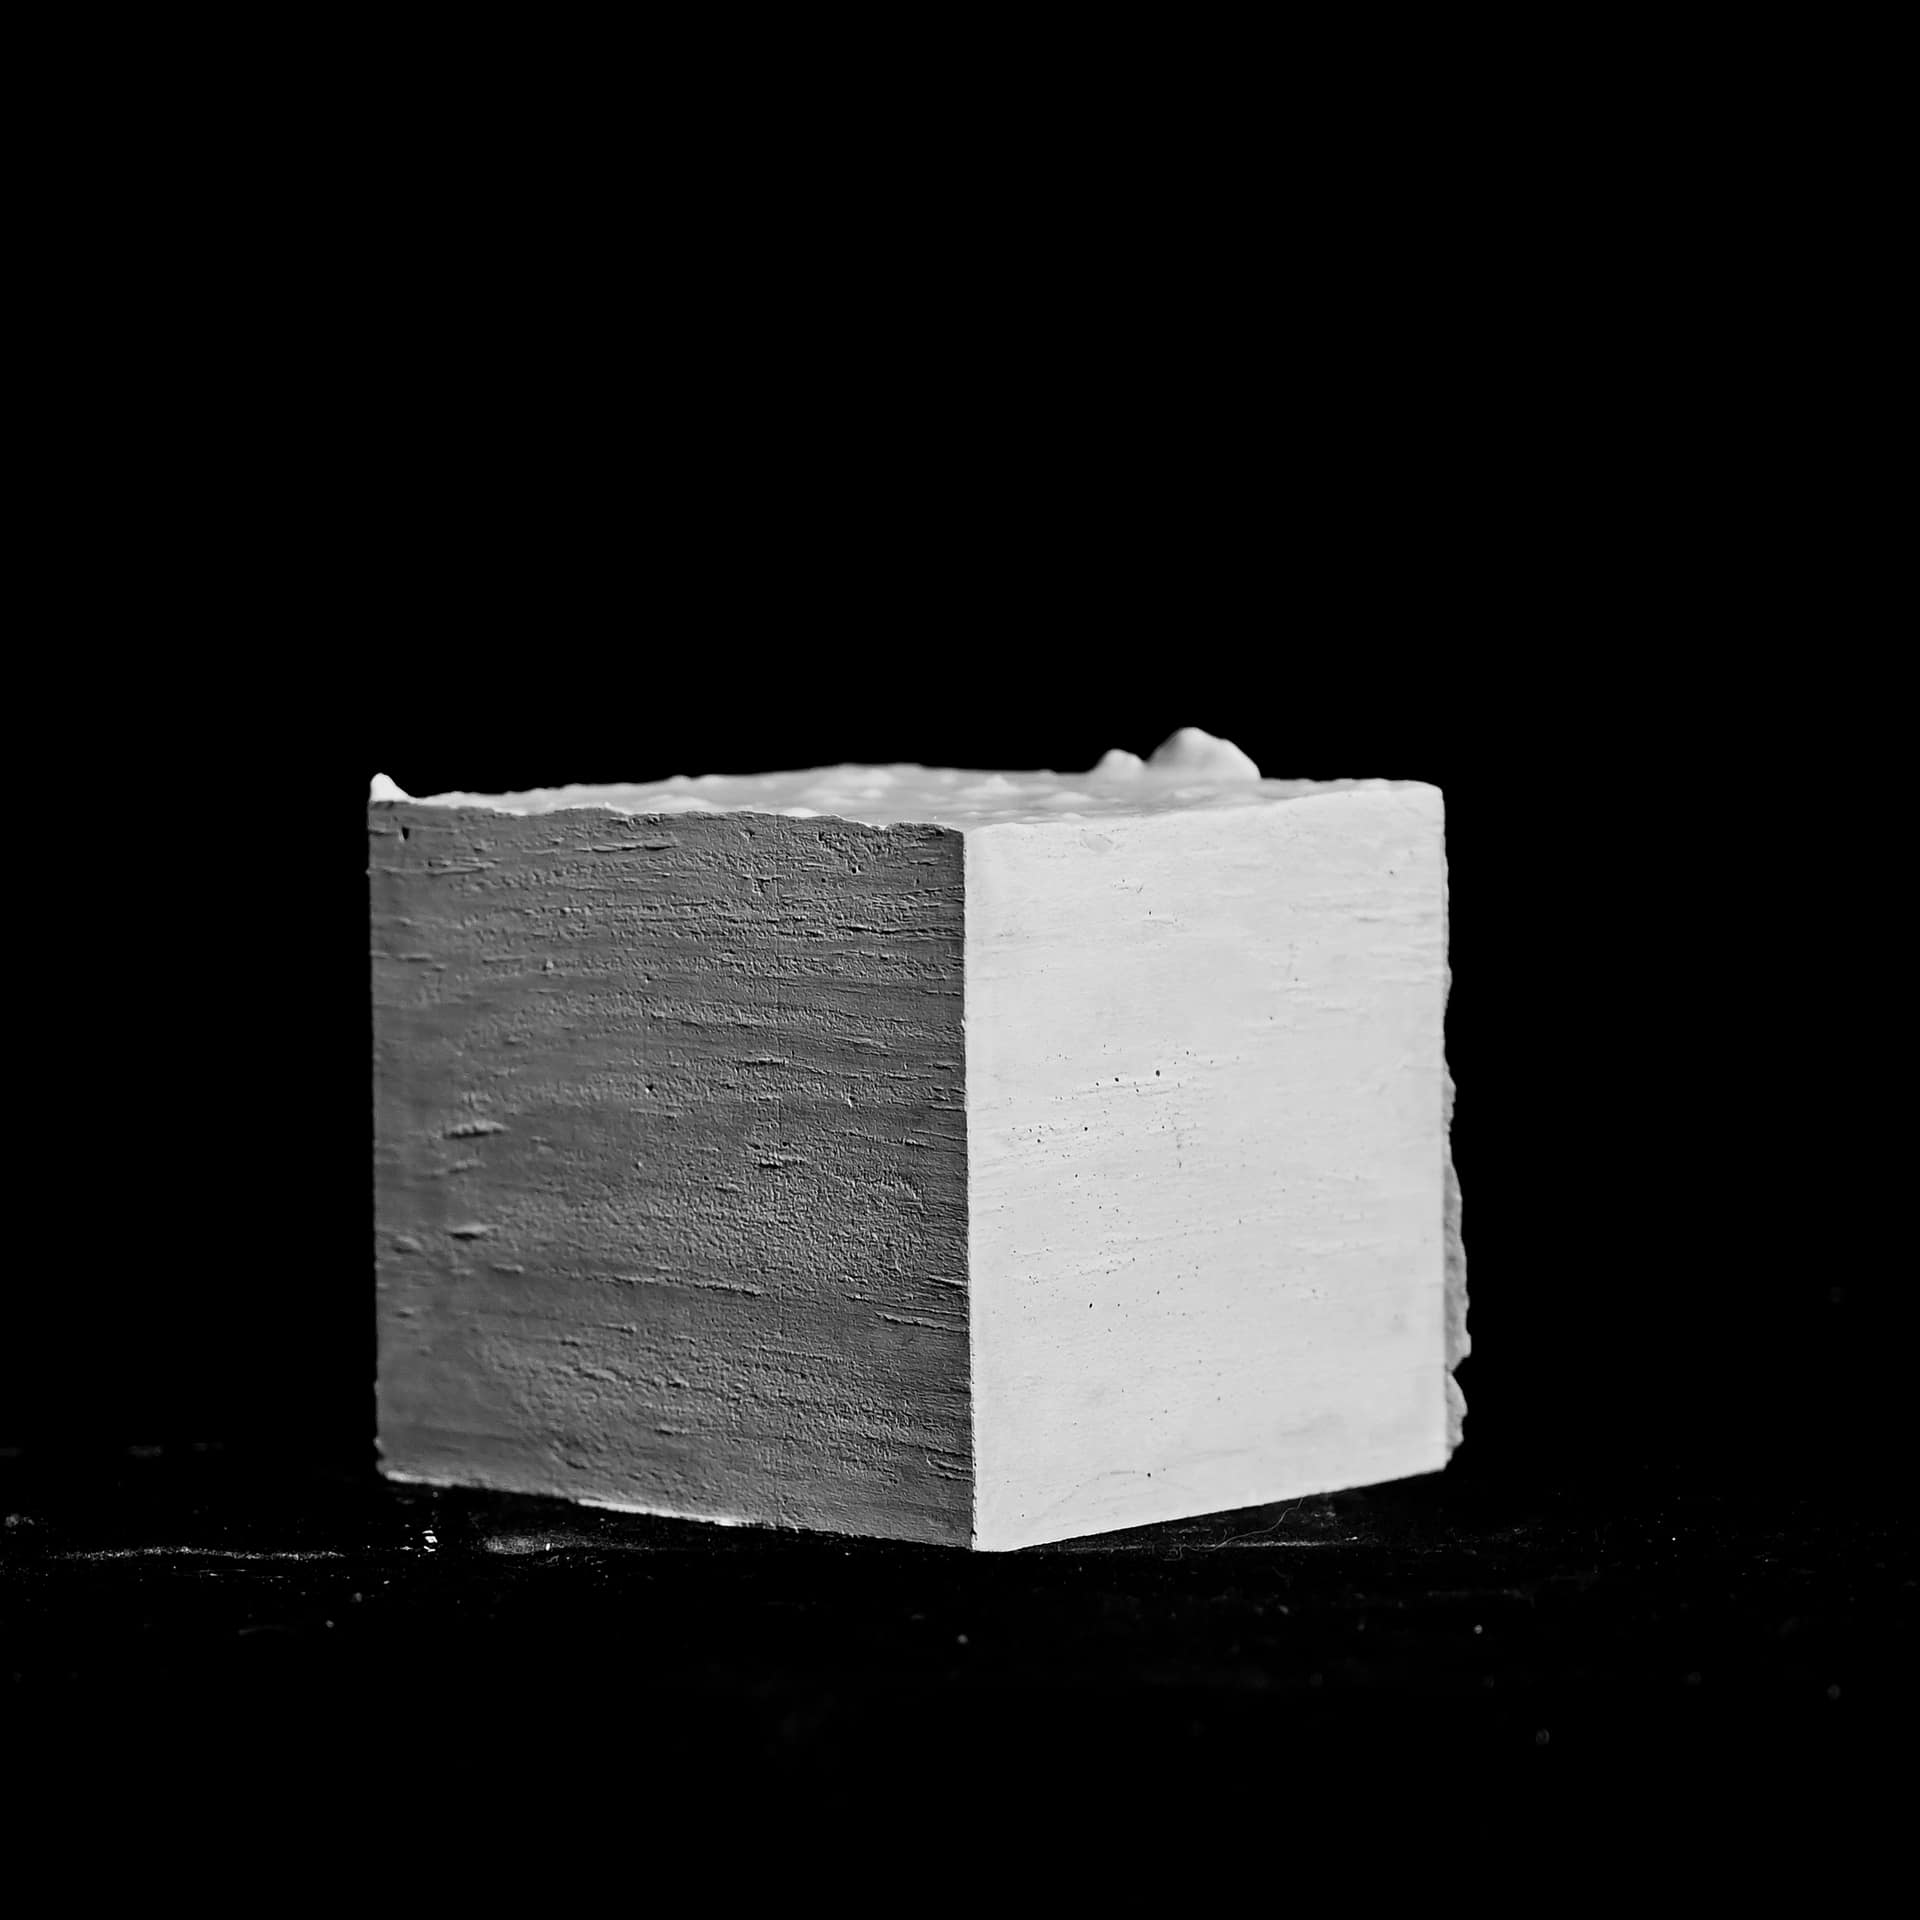
The cubes were cast from rockite. Rockite is a fast-setting cement that is easier to work with than the big concrete bags sold at Home Depot. Although more expensive, it offers a more refined look. I underestimated the time and the material required. First, I had to make a mold. I designed a flexible mold that allowed me to adjust it to different dimensions. I opted for a 4”x4”x4”, which seemed just right for my project. Rockite comes in 10lb containers, I needed two of them and between making the wood mold and the cubes it took about a week. When it came time to destroy the cubes, I almost couldn’t. It was almost hard to bring myself to destroy that which I had created.
Cube 1
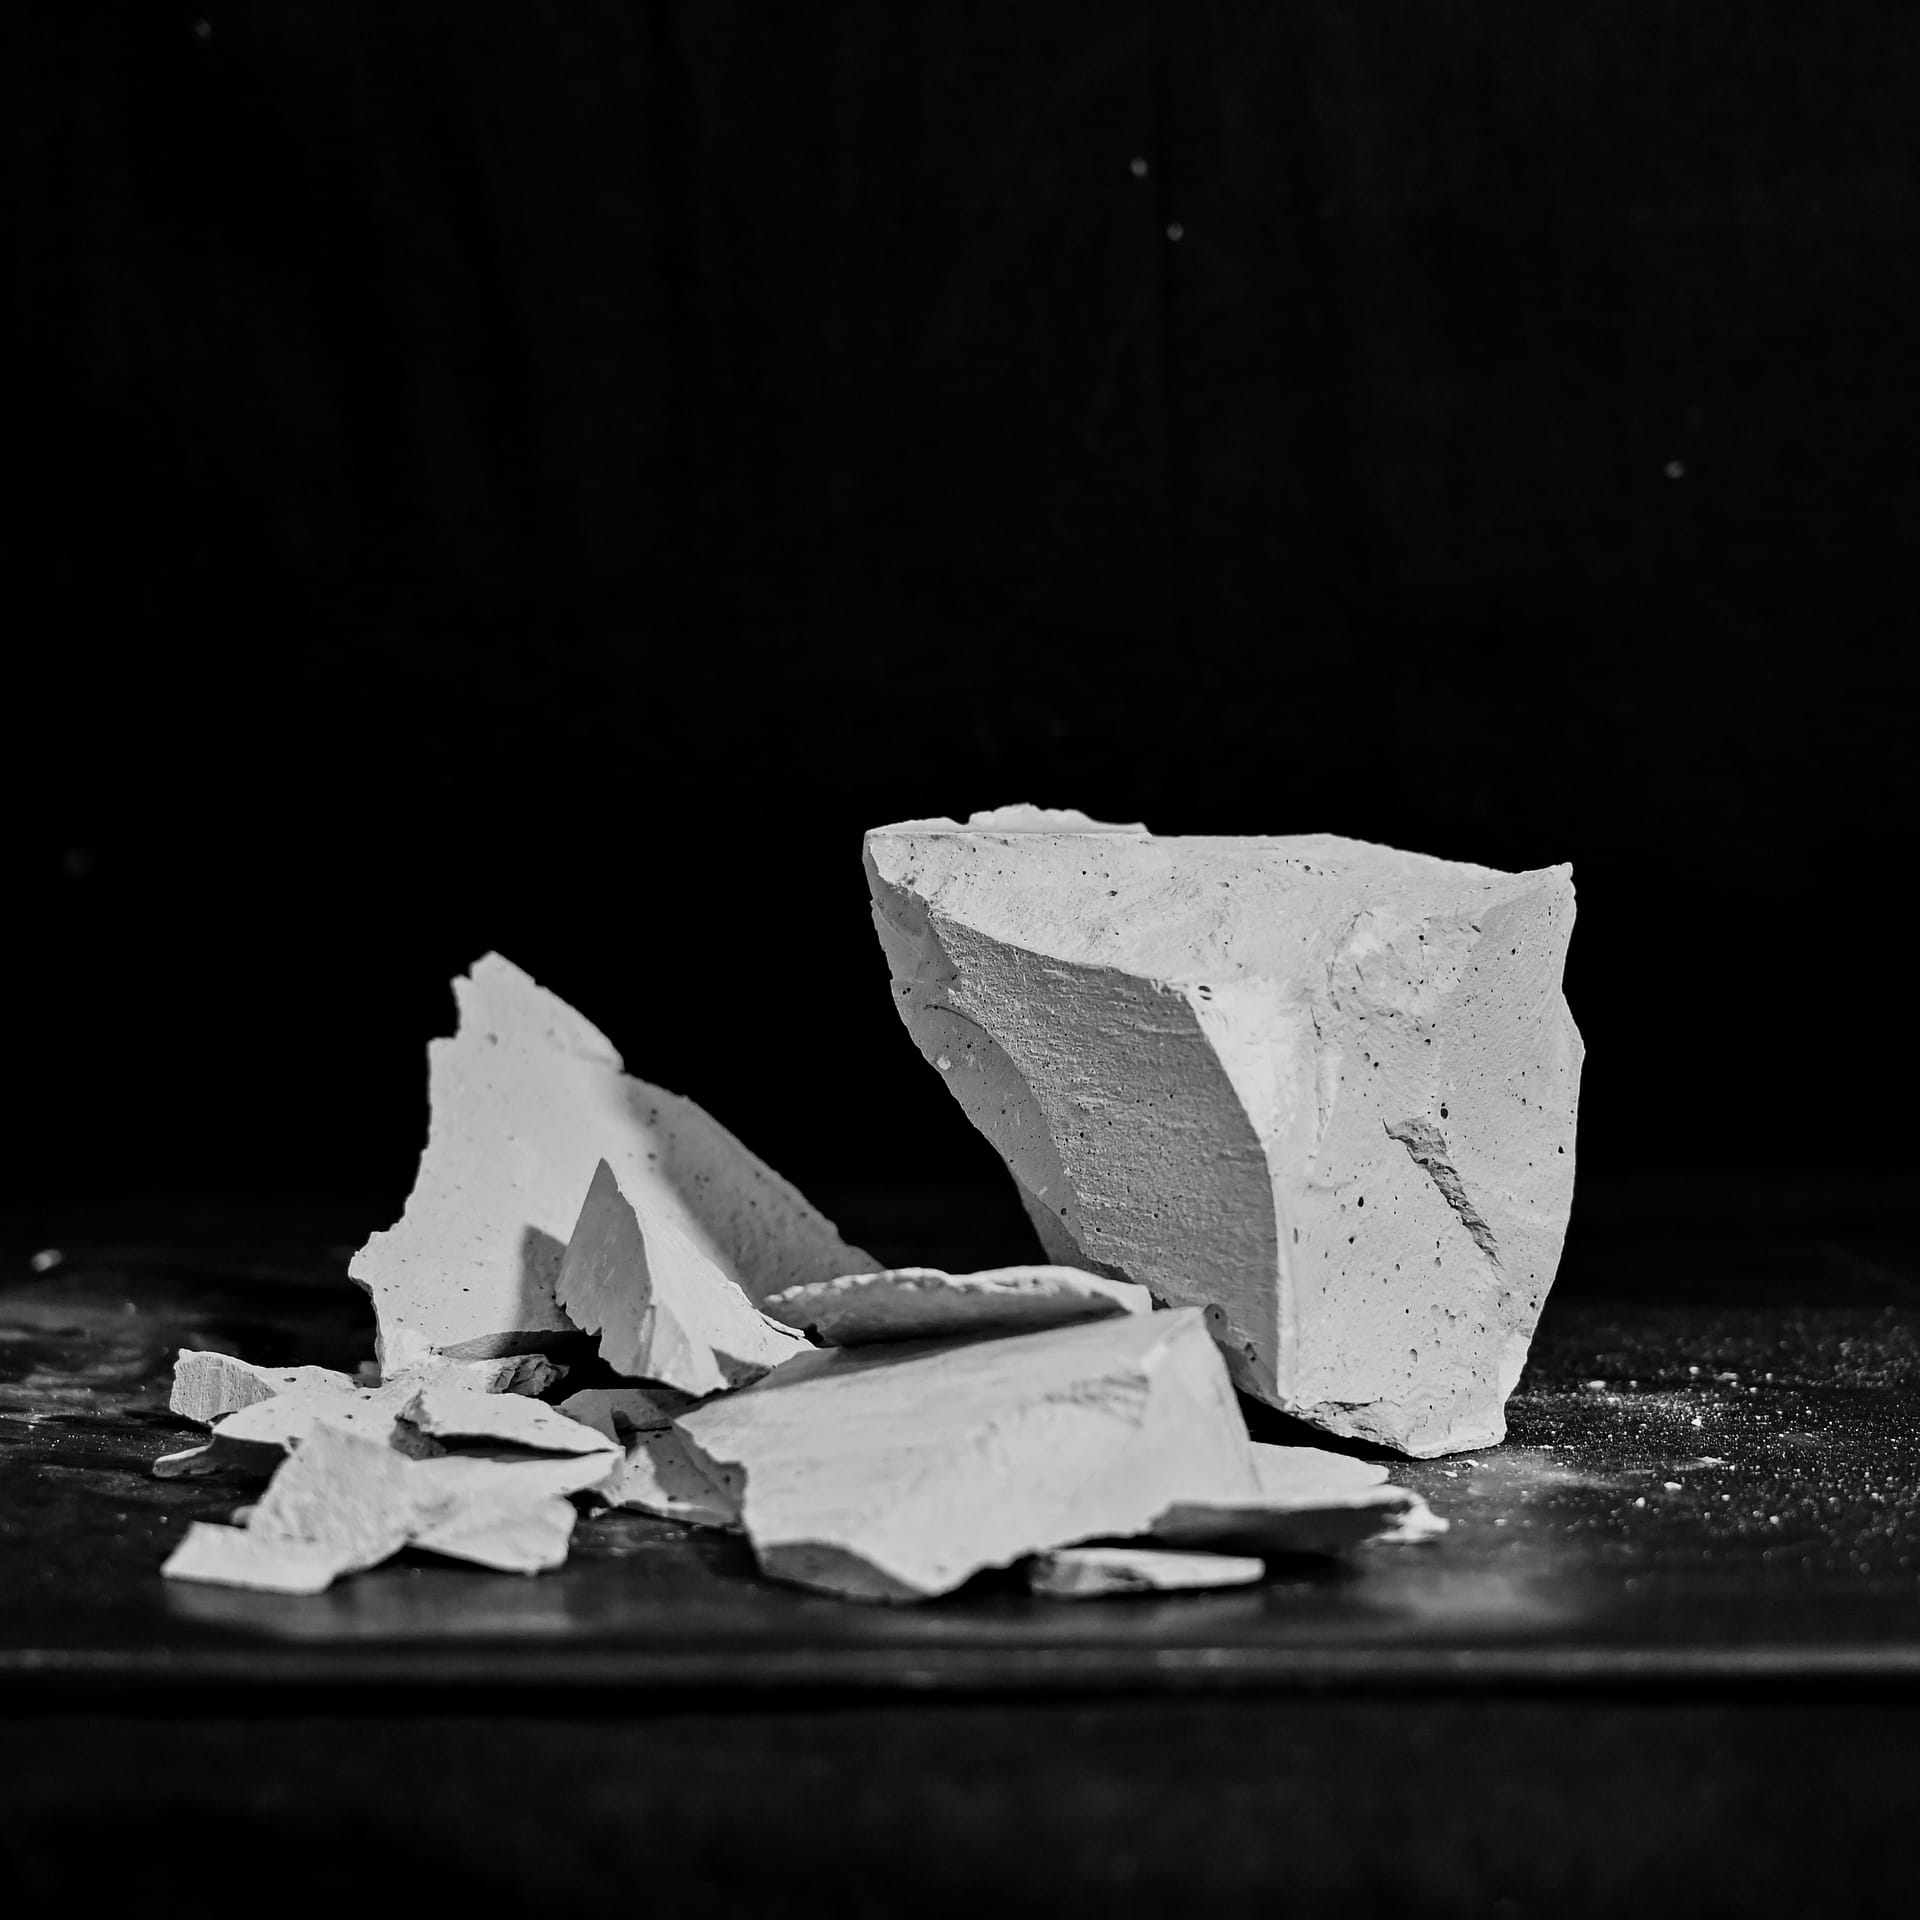
After twelve drops from 15 feet, cube 1 achieved the desired level of destruction. I aimed for a substantial level of destruction to render the cube unrecognizable and for a significant number of fragments. My goal was to attempt to reconstruct it using the shattered pieces. It was all but an impossible task. What remains is a scarred fragmented remnant of the original. I also explored creating a contrast between a 3D-printed shell and the rebuilt cube beneath it. First, I 3D scanned the cube, inverted it, so the interior was hollow with a flat exterior consisting of gaps. I failed 3 attempts to 3D print it. The first one was too small so I couldn’t fit it around. The second one was again too small and the third one was messed up by the printer creating something unlike either of the first two.
On Friday, I had a mid-semester thesis discussion with my three thesis advisors and during it Kintsugi was brought up. It is the Japanese art of repairing broken pottery or glass with gold. The idea is to create a more beautiful object through the acts of breaking and repair. Perhaps this is something that can inform my work going forward.
Cube 2
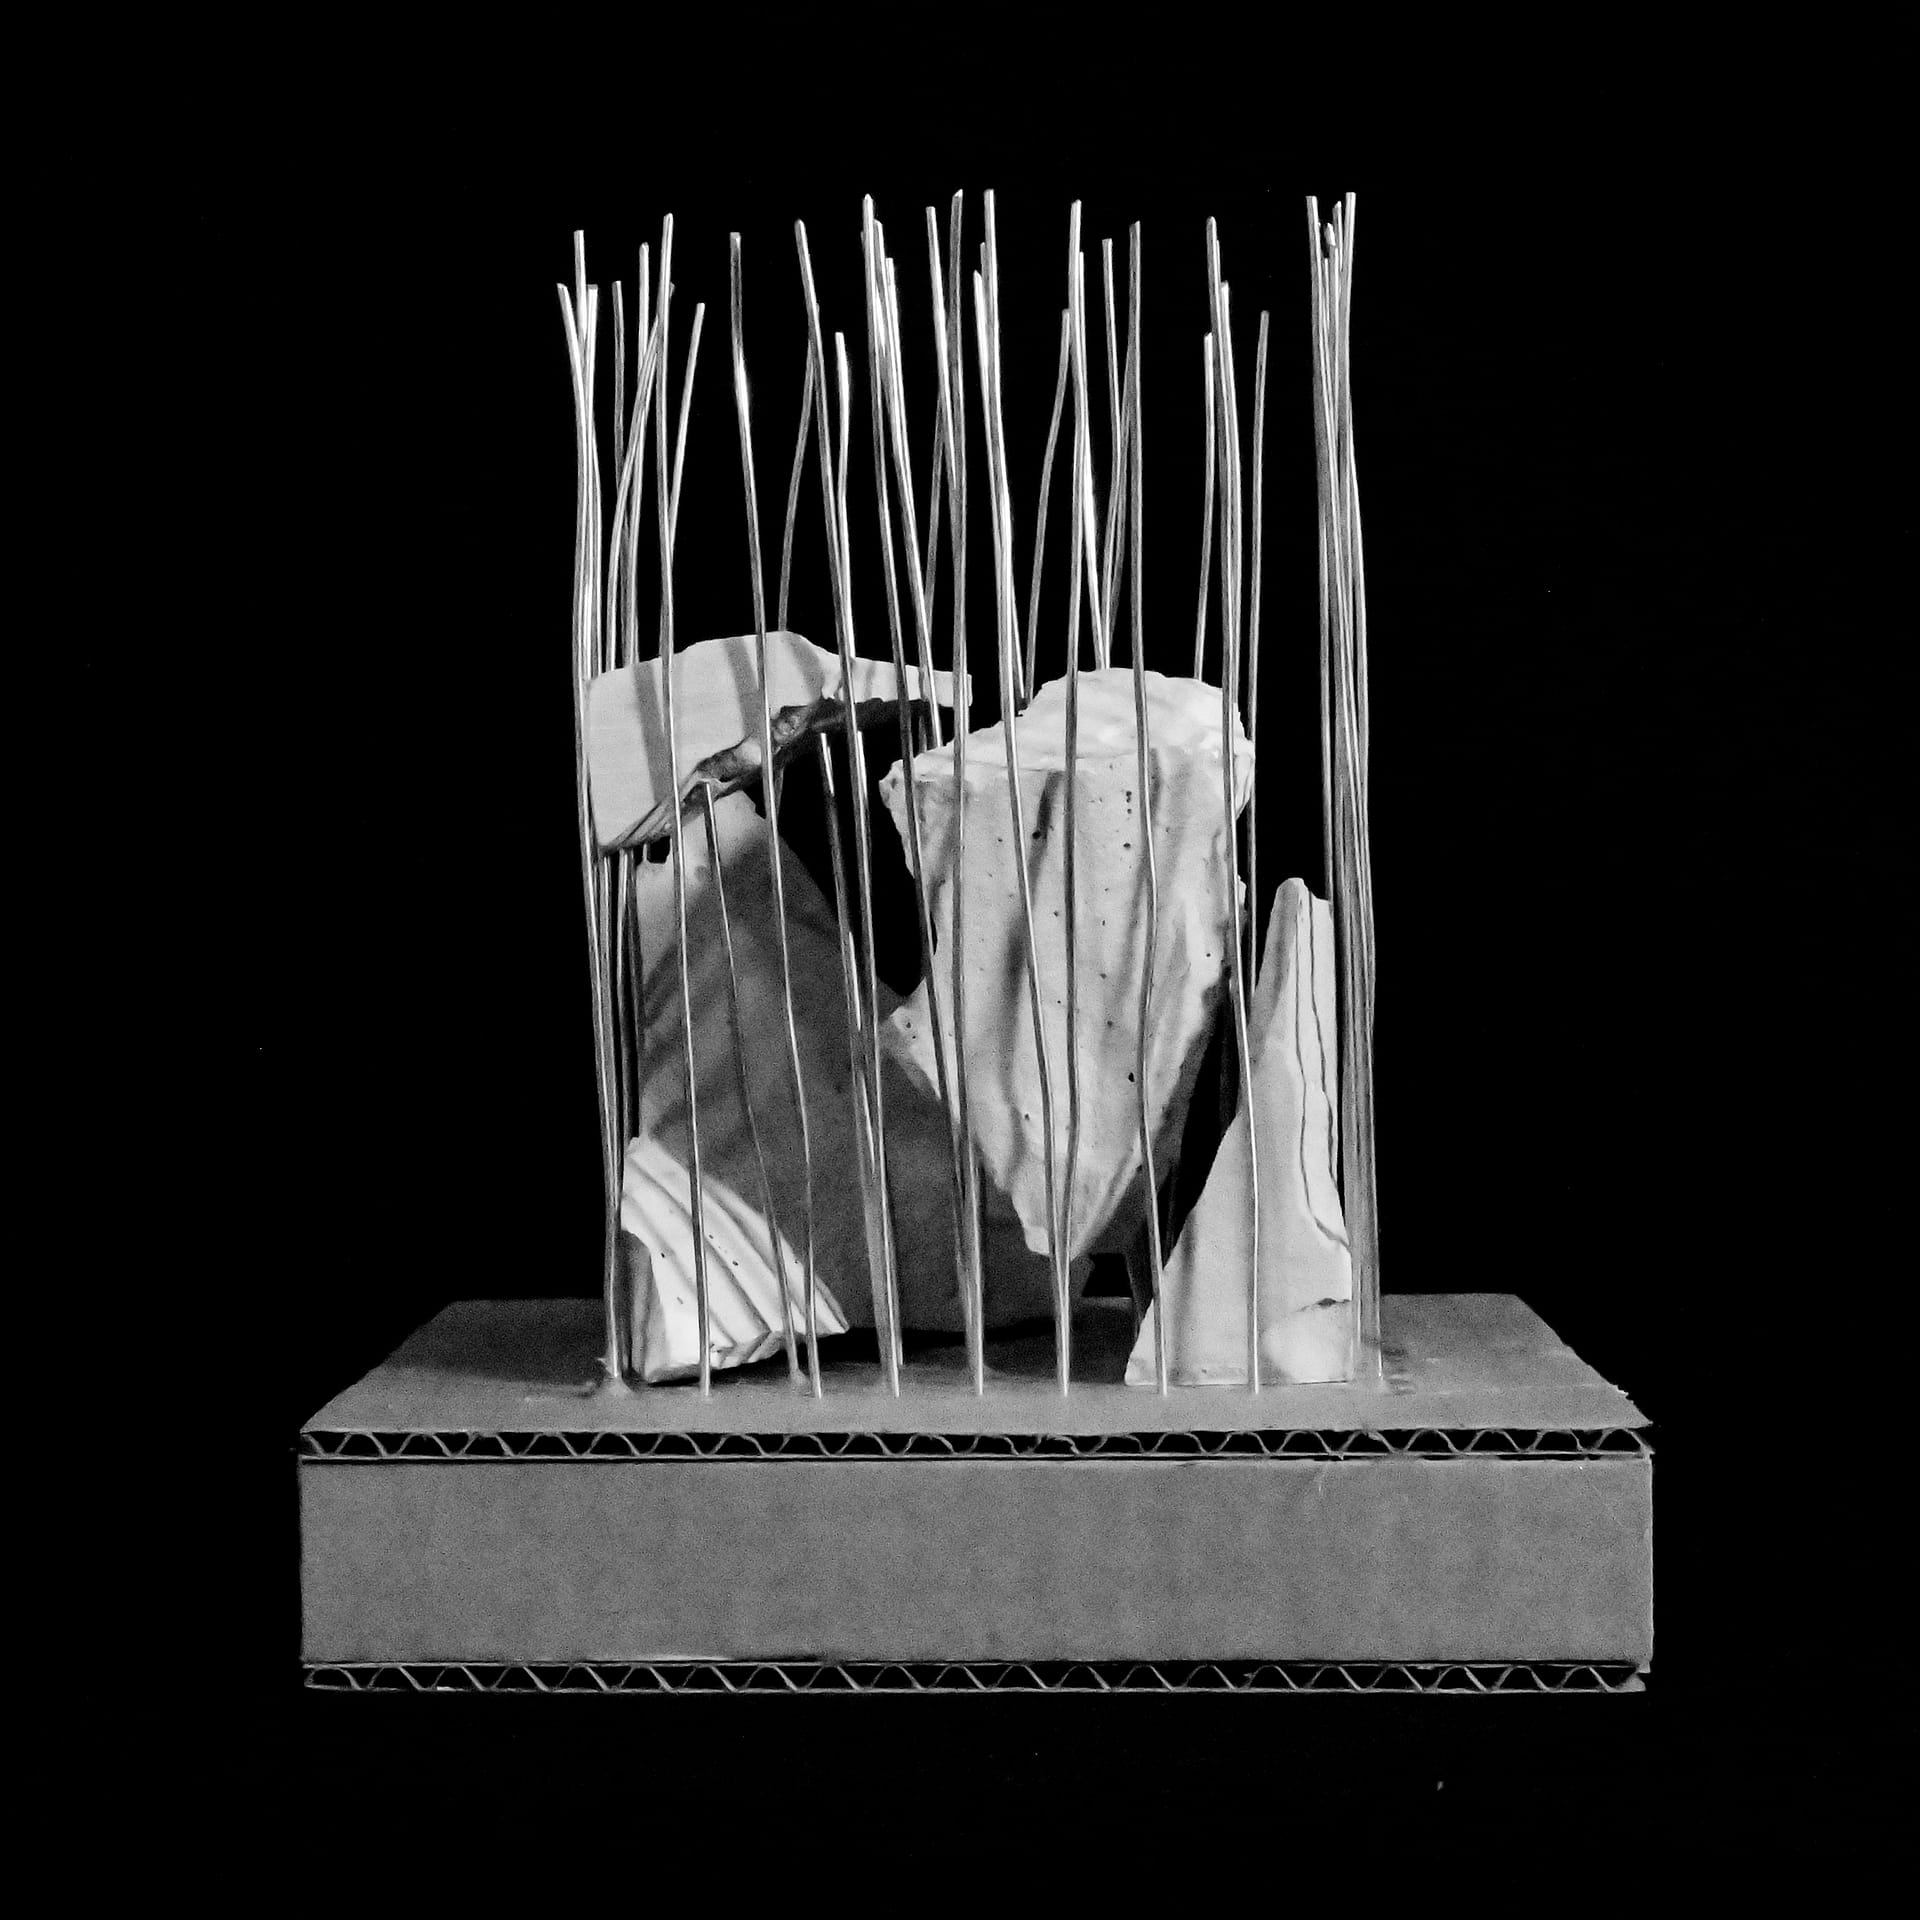
Cube 2 also reached its intended level of destruction after 12 drops. Inspired by Edoardo Tresoldi, I initially aimed to “rebuild” the broken cube using modeling wire, mirroring his approach where he uses wire to recreate a ruin or part of a building, bringing it back with an ephemeral impermanence. They behave like ghosts, making the viewers question whether or not what they’re seeing actually exists. After struggling with how to use the wire and attach it to the fragments, I was inspired by how rebar is used in concrete. I decided on using the wire in a grid system to suggest the boundaries of a cube, while using the pieces to imply the physical thing.
Cube 3
After 13 drops, cube 3 achieved its desired level of destruction. Before I destroyed it, I created a silicone mold, with the intention to use epoxy resin to fill in the gaps of the broken pieces. Epoxy resin binds with most surfaces, so either the surfaces need to be properly prepared or you have to use a material like silicone. The silicone mold almost turned into a disaster. I bought a small garbage pail from the YMCA thrift store and then lined it with foam core board because I didn’t have nearly enough silicone liquid. It barely covered the top of the cube. My friend noticed it was leaking from the side, luckily at the same time another friend was making his way into the clay room and suggested using clay to patch it. I then hot glued that to add another layer of safety. It was a tense three days while I waited for it to dry, hoping it didn’t continue to leak. When it was finished, I struggled to get the cube out and feared ripping it. Eventually I did and I was able to move on to the second step which involved putting the silicone mold into the first wooden mold to brace it. It required three pours with a day in between to harden.
Overall, this exercise provided me with an opportunity to delve into the concept or reconstruction. Not only did it challenge me to use new methods of model making, it also promoted me to confront questions regarding the process of rebuilding. While a cube is far simpler than a building, which involves many layers such as facades, structural systems, foundations, and everything in between, it still represents something. It is possible that the elements of what I’ve explored here might be applied to a building. Now, I just have to get there.


